Last updated November 21, 2026
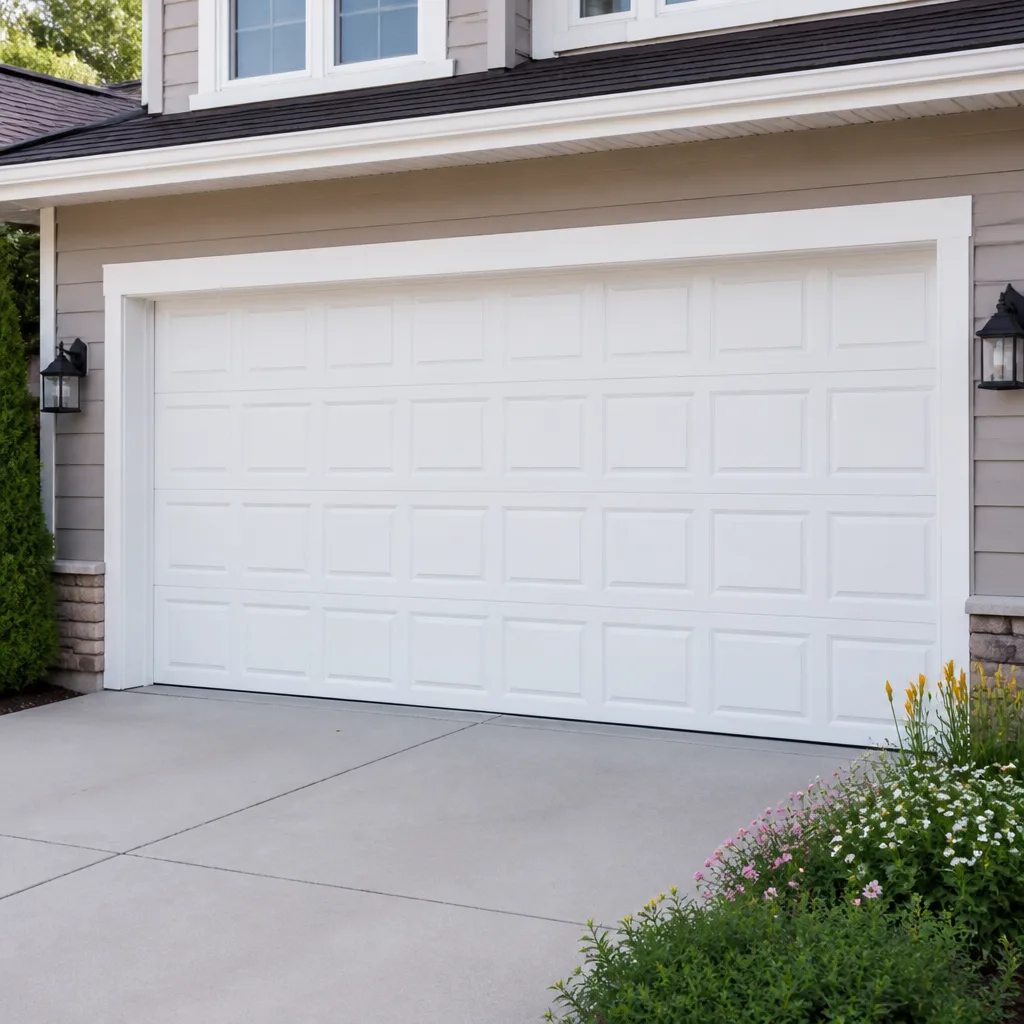 Raised-panel steel
 Carriage house
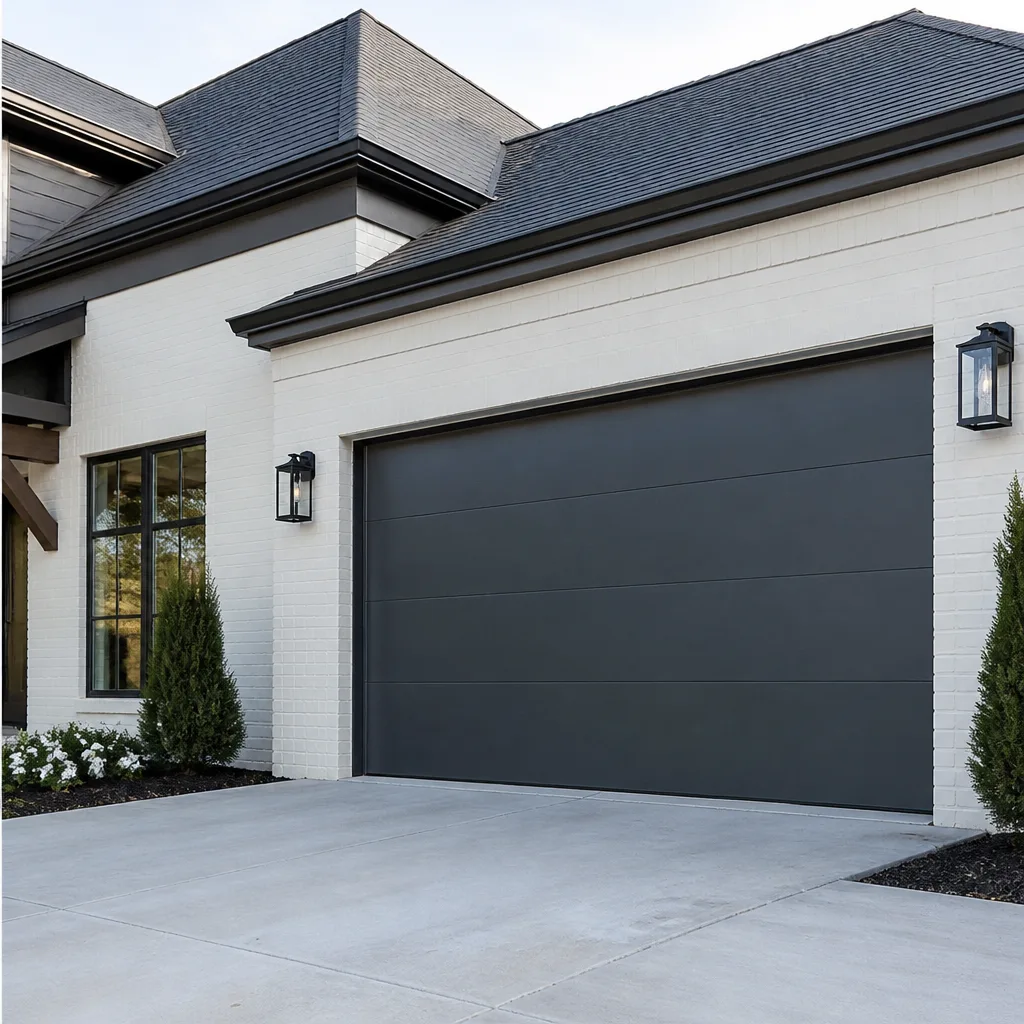 Modern flush
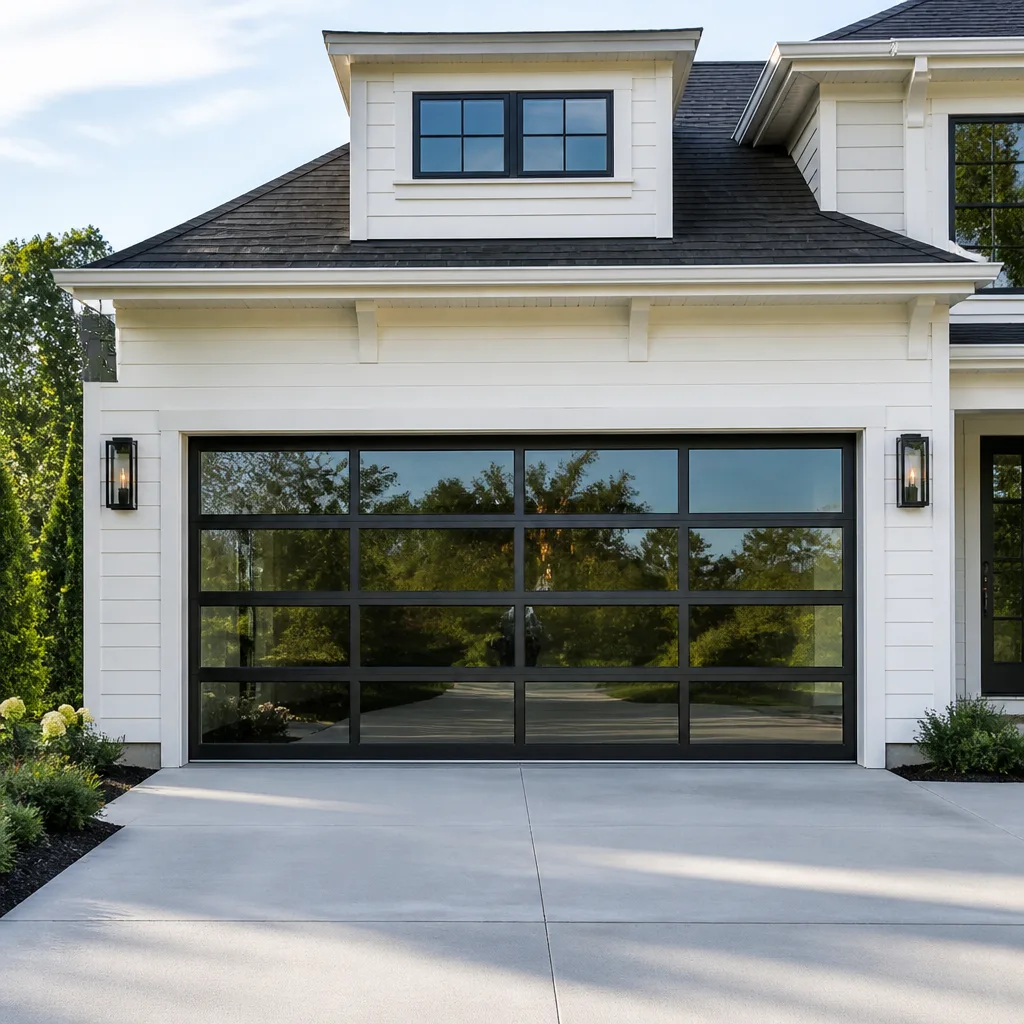 Full-view glass
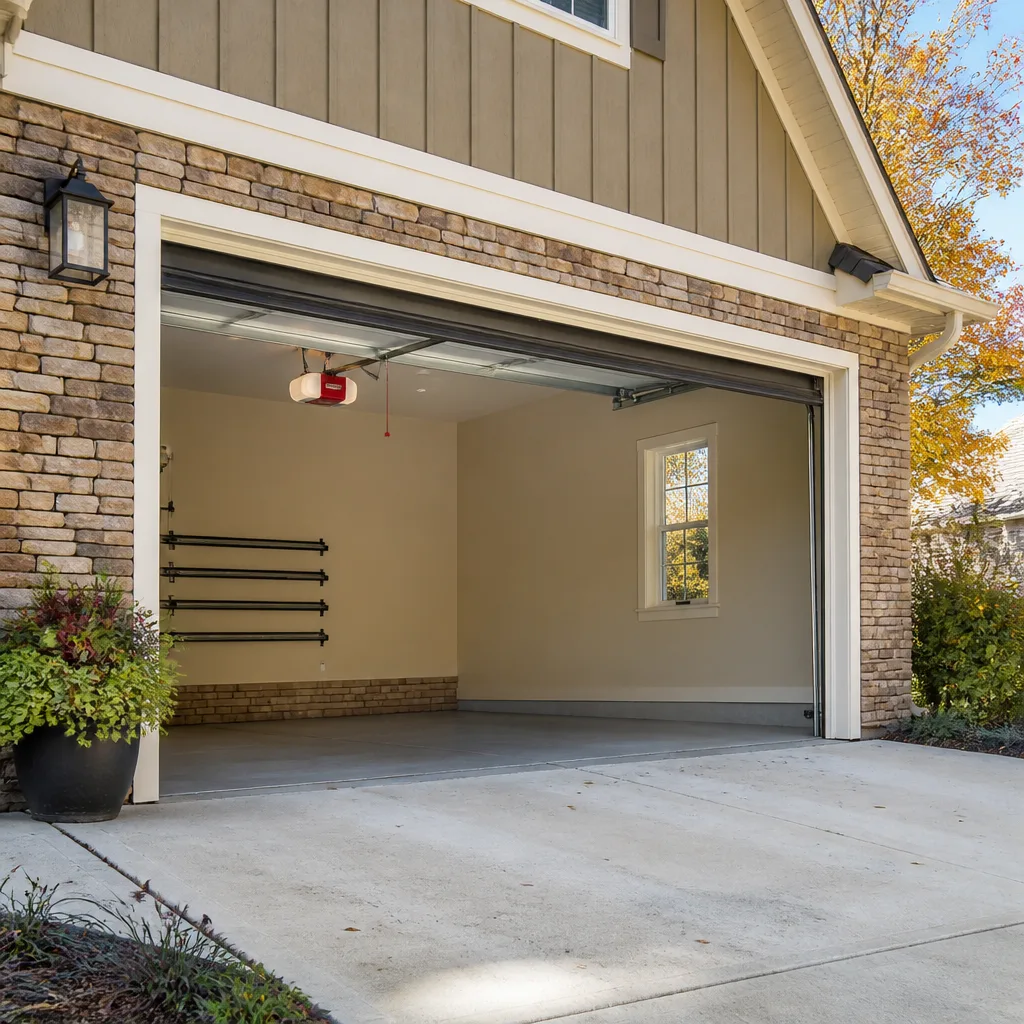 LiftMaster openers
 Chamberlain openers
Full 25-point door and opener safety check with every visit - springs, cables, rollers, tracks, and your LiftMaster or Chamberlain opener included
You get a price before we start. It does not change when the pro arrives.
Get your free estimateGarage Door Repair Maintenance Checklist for New Haven Homeowners
Every printable garage door checklist online skips the one inspection that matters most: the cable drums. Those are the grooved metal spools at each end of the torsion shaft, and worn drums are a leading cause of sudden door drops in homes running high-cycle openers. A homeowner checking springs and hinges but never glancing at the drums is watching the wrong parts. New Haven homes have their own patterns too – older two-car garages off Whitney Avenue, tight single-bay doors in East Rock, opener cycles that climb higher every year. This guide is built around what we actually find on service calls in New Haven, organized by how often you should be looking.
Quick Answer
A garage door maintenance checklist for New Haven homeowners should cover monthly safety tests (balance, auto-reverse, photo-eye), seasonal lubrication and hardware checks, and an annual full inspection of springs, cables, drums, rollers, and the opener. The single most skipped item is cable drum inspection, which you can do safely from the ground with the door closed.
Styles & brands we work with
- Raised-panel steel
- Carriage house
- Modern flush
- Full-view glass
- LiftMaster openers
- Chamberlain openers
Table of Contents
- Monthly Checks: The 10-Minute Routine
- Seasonal Maintenance for New Haven Weather
- The Annual Full Inspection
- Lubrication Points That Differ by Spring System
- Testing Auto-Reverse Force Without Tools
- Cable Drums and Bottom Brackets: The Safe Visual Check
- Which Tasks Affect Manufacturer Warranties
- Common Mistakes to Avoid
Monthly Checks: The 10-Minute Routine
A monthly check catches wear while it’s still cheap to fix. Ten minutes each month, no tools beyond your eyes and ears, will surface most of the problems that turn into emergency calls. In New Haven, where spring thaw and fall foliage season both shift how a door behaves, the monthly rhythm keeps you ahead of the transition.
Start with the door closed and the opener disengaged. Then work through these in order:
- Listen. Run the door up and down once. Grinding, squealing, or a rhythmic thump points to a specific part – usually rollers, hinges, or a dry torsion spring.
- Balance test. Pull the release cord, lift the door to waist height, and let go. A balanced door stays put. A door that drops or rises on its own needs spring tension checked by a pro.
- Photo-eye test. Wave an object across the safety sensors near the floor. The door should reverse immediately. If it doesn’t, the opener’s safety circuit is compromised.
- Auto-reverse force test. Place a roll of paper towels or a 2×4 flat on the floor in the door’s path and close the door. It should reverse on contact (see the dedicated section below).
- Visual swing. Watch the door travel. Any wobble, racking, or uneven gap at the sides means the track or rollers need attention.
Any failure on the balance or auto-reverse tests is a same-week call, not a wait-and-see. Those two are safety tests, and a door that fails either one isn’t safe to run. When your door fails these checks, we handle garage door repair across New Haven and know the typical patterns by neighborhood.
Seasonal Maintenance for New Haven Weather
New Haven’s four seasons put a door through more than a year-round mild climate would. Freeze-thaw cycling in late winter loosens fasteners and stiffens grease. Summer humidity swells wooden door panels and can warp a jamb. Fall leaf debris finds its way into tracks. Each seasonal check needs to address what the last two months have done.
Spring (after the last freeze)
- Clear grit and salt-free debris from the tracks – salt is not the issue in New Haven, but road sand tracked into the garage is. Sweep the tracks before running the door.
- Re-torque hinge and bracket bolts. Freeze-thaw loosens them reliably.
- Check the bottom weather seal for cracks from ice. A torn seal lets water under the door and into the garage slab.
Summer
- Wooden doors (common in the older homes around Wooster Square and East Rock) need a paint or stain touch-up on any peeling edge. Moisture is the enemy here.
- Re-check the auto-reverse force test. Heat softens seals and changes how the door seats against the floor.
Fall
- Clear leaves and twigs from the track channels and from the photo-eye lenses. A single leaf across a lens is a common false-reversal cause.
- Lubricate hinges, rollers, and the torsion spring (see the lubrication section for spring-specific guidance).
- Test the door’s balance again before the cold sets in.
Winter
- Keep the track and floor threshold clear of snow and ice so the door seats fully.
- If the door feels sluggish, don’t force it. Cold thickens lubricant and stiffens seals. A few cycles usually warm things up, but persistent sluggishness is a call.
The Annual Full Inspection
Once a year, ideally in fall before the heating season, do a full inspection from the ground. This is the deep pass – springs, cables, drums, rollers, opener, and the structural attachments that hold everything in place. In New Haven, an annual inspection on an older door (say, a Wayne Dalton or Clopay installed decades ago) regularly surfaces parts on the edge of failure that a monthly check would miss.
- Springs. Look for gaps, rust pitting, or a stretched coil on torsion springs. On extension springs, look for a sag or a missing safety cable. Never touch a spring under tension.
- Cables. Inspect for fraying, kinks, or rust where the cable winds onto the drum. A single broken strand means the cable should be replaced.
- Cable drums. Look at the groove where the cable sits. A worn groove, a chipped flange, or visible play is a red flag (see the dedicated section).
- Rollers. Steel rollers should spin freely. Nylon rollers should show no flat spots or cracks.
- Hinges and brackets. Check for cracks at the bend. Bottom brackets especially.
- Opener. Check the rail for straightness, the chain or belt for slack, and the force/speed settings on the control panel. Smart and legacy openers alike need this annually.
- Weather seal and bottom bracket attachment. Look for daylight under the closed door and any loose fasteners at the bottom section.
If the annual pass turns up a spring or cable issue, that’s the moment to schedule garage door spring repair – not after it fails at 7 a.m. on a workday.
Lubrication Points That Differ by Spring System
Lubrication is where most online checklists go wrong, because they lump all garage doors together. Torsion and extension spring systems need lubrication in different places, and using the wrong product on a spring can attract grit and accelerate wear. A white lithium grease is the standard for hinges and rollers; a dedicated garage door lubricant (not WD-40) is what you want on the spring itself.
Torsion spring systems
- Apply lubricant along the full length of the torsion spring, working it into the coils without overloading.
- Oil the torsion shaft bearings at each end plate – a few drops each.
- Lubricate the hinges at each pivot point and the roller stems, not the roller wheels themselves.
- Do not lubricate the track. Tracks should stay dry; grease in a track collects grit and causes binding.
Extension spring systems
- Lubricate the pulleys at the top of each extension spring track.
- Lightly oil the spring coils themselves – extension springs move more than torsion springs, so they benefit from a light coat.
- Check the safety cables running through the springs. Those aren’t lubricated; they’re inspected for fraying.
- The same hinge and roller-stem lubrication applies.
In our experience, doors that get proper annual lubrication run quieter and last longer than doors that get a squirt of whatever’s in the garage. The difference between a ten-year-old door that feels new and one that groans is mostly lubrication and balance.
Testing Auto-Reverse Force Without Tools
The auto-reverse test is the one safety check every homeowner should run monthly, and you don’t need a single tool. The test confirms that when the door meets resistance on the way down, it reverses to the open position rather than crushing whatever’s in its path. The threshold should feel like a firm but not violent stop – the door reverses within roughly two inches of meeting an object.
How the test works
- Lay a roll of paper towels or a flat 2×4 on the floor in the center of the door’s path. The object should be at least 1.5 inches tall.
- Close the door using the wall control or remote (not the manual release).
- Watch what happens when the door meets the object. It should reverse immediately and return to fully open.
- If the door stops and stays down, or grinds before reversing, the force setting is too high.
- Repeat the test on both sides of the door (left and right) to make sure the sensing is even.
If the door fails, don’t adjust the force setting yourself unless you’re certain how your opener’s panel works. Modern openers (Chamberlain, LiftMaster, Genie, Craftsman) all have different adjustment procedures, and setting the force too low causes false reversals that will drive you crazy. The right move is a call to a tech, who can set the force and confirm the door’s mechanical balance is the actual cause. Force settings are a symptom; the door’s balance is often the disease.
While you’re at it, test the photo-eye sensors on the same day: wave your hand across the beam and the door should reverse or refuse to close. Both tests together take under two minutes.
Cable Drums and Bottom Brackets: The Safe Visual Check
Cable drums are the most skipped item on every checklist, and also the most common cause of sudden door drops in homes with high-cycle openers. Here’s why: the drum is what the cable winds onto, and as the door cycles, the drum’s groove wears. A worn groove lets the cable jump or slip, which can release tension suddenly. Homeowners rarely look at the drums because they’re near the springs and feel dangerous to approach.
The good news is that the safe visual check doesn’t require touching anything. With the door fully closed and the opener disengaged (power off), stand well back and look up at each end of the torsion shaft.
- Groove condition. The cable should sit neatly in the groove. A groove that’s flattened, widened, or chipped is a red flag.
- Flange integrity. The raised edge that keeps the cable from slipping off should be intact and even.
- Cable seating. The cable should be snug against the drum. Any slack or misalignment is a stop-and-call signal.
- Bottom brackets. Also look at the bottom corner brackets that hold the cable ends. Cracks, rust, or a loose fastener mean the bracket is compromised.
- Play in the drum. A worn drum can develop visible side-to-side play. Any movement at the drum is a professional call.
What you do not do: put a hand on the drum, try to re-seat a cable, or adjust a bottom bracket. Bottom brackets and drums are under spring tension – a partial release from either can take a finger. This is a look-only check from the ground. In New Haven, the drum wear pattern in homes with daily-use openers (most two-car households) catches up with older doors faster than the springs do, which is why we recommend the drum look on every monthly pass.
Which Tasks Affect Manufacturer Warranties
Manufacturer warranties on garage doors and openers are conditional, and it’s the homeowner’s maintenance habits – not the manufacturer’s mood – that decide whether a claim goes through. For the major brands we service (Clopay, Amarr, Wayne Dalton, Craftsman, and others), the warranty terms are usually about improper installation and unauthorized modification, not routine maintenance.
What typically voids or compromises coverage:
- Adjusting spring tension or replacing springs without proper tools and training. This is the big one. Springs store enormous force, and a mismatch between spring winding and door weight causes premature failure of the whole assembly. A warranty claim on a spring failure after a DIY adjustment almost never succeeds.
- Modifying the track, brackets, or door panels to “fix” a binding issue. Any bending of the track opens the warranty question.
- Skipping lubrication for years and then claiming a roller or hinge failure. Manufacturers can and do point to neglected maintenance.
- Using the wrong lubricant on the spring or in the track. Track grease is one of the more common warranty disputes.
- Reversing the opener’s force adjustment beyond factory spec. This is a legitimate safety complaint, and it’s also a warranty discussion.
The safest way to protect a warranty: keep the monthly and annual checks, keep proper lubrication records, and call a technician for anything spring-, cable-, or drum-related. Costs are usually much lower than a warranty denial, and no manufacturer argues with a service record.
Common Mistakes to Avoid
- Skipping the cable drum check. Most online checklists don’t mention drums at all. They’re the most common cause of sudden door drops in high-cycle homes, and looking is free.
- Lubricating the track. Tracks should stay dry. Grease in the track attracts grit and causes binding – one of the most common things we fix on New Haven doors.
- Adjusting the force setting instead of balancing the door. If the door is unbalanced, cranking the force up just hides the real problem and risks a warranty issue.
- Forcing a sluggish door in winter. Cold thickens grease and stiffens seals. If it doesn’t want to run, the door is trying to tell you something.
- Trying to re-seat a cable on a drum. This is a look-only check. Cables are under spring tension and can release with force.
- Ignoring photo-eye obstructions. A leaf across the lens in October around East Rock and Wooster Square is a classic false-reversal cause.
- Skipping the annual balance test. It’s the fastest way to catch a spring nearing the end of its life, and it takes about a minute.
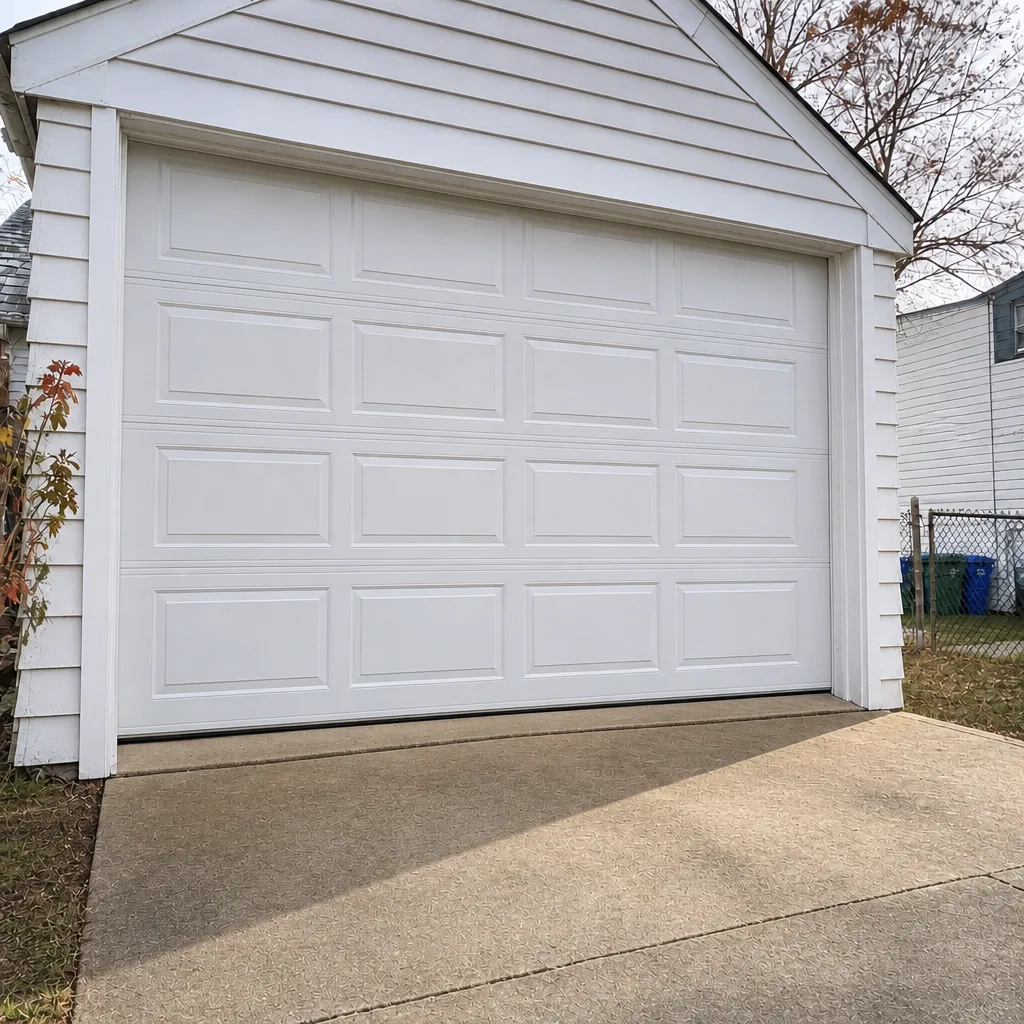
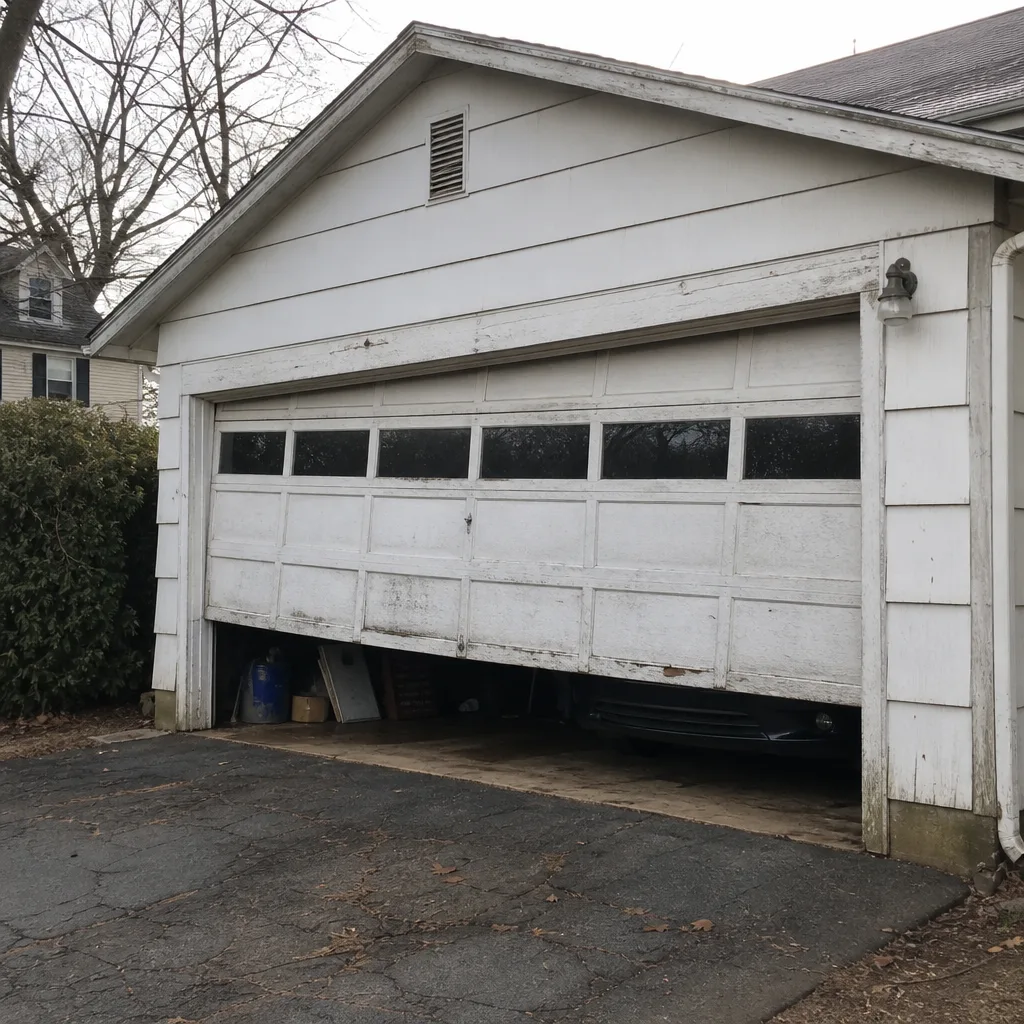
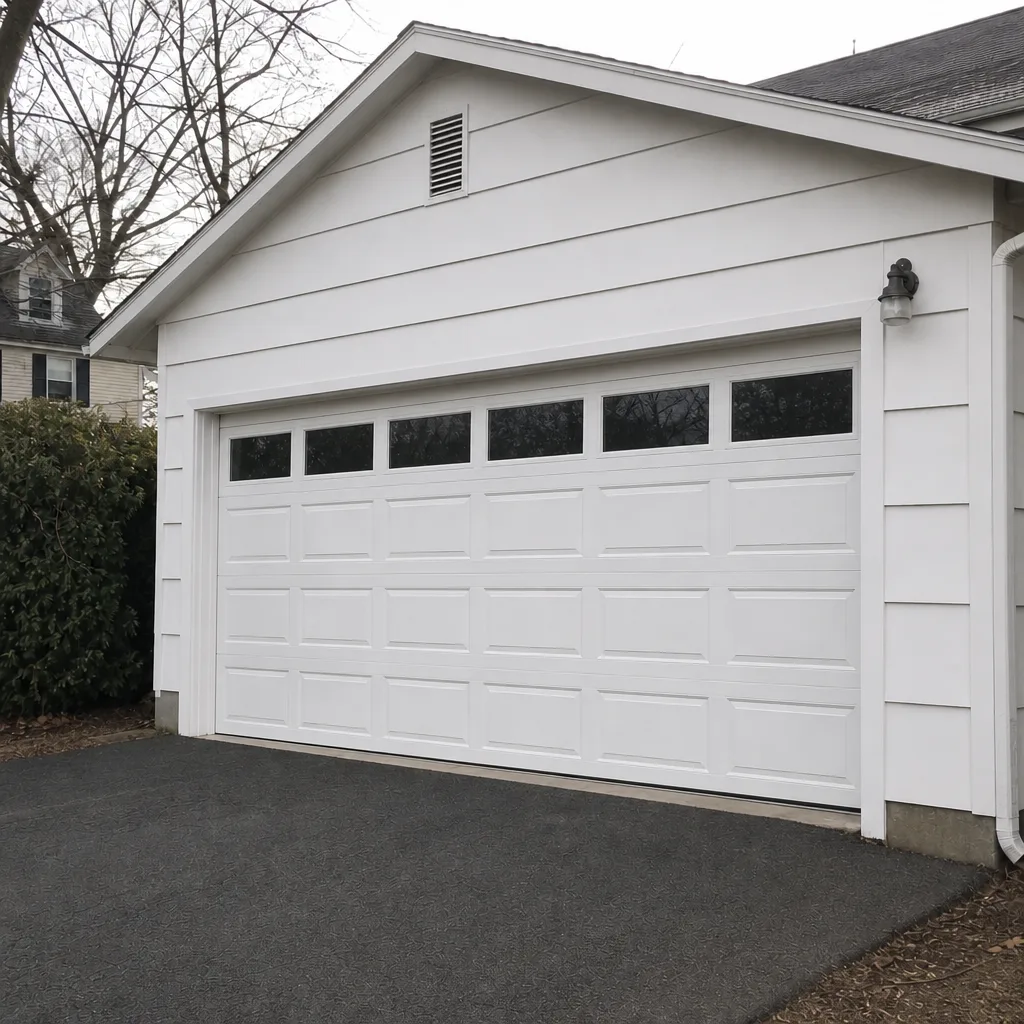
See the difference
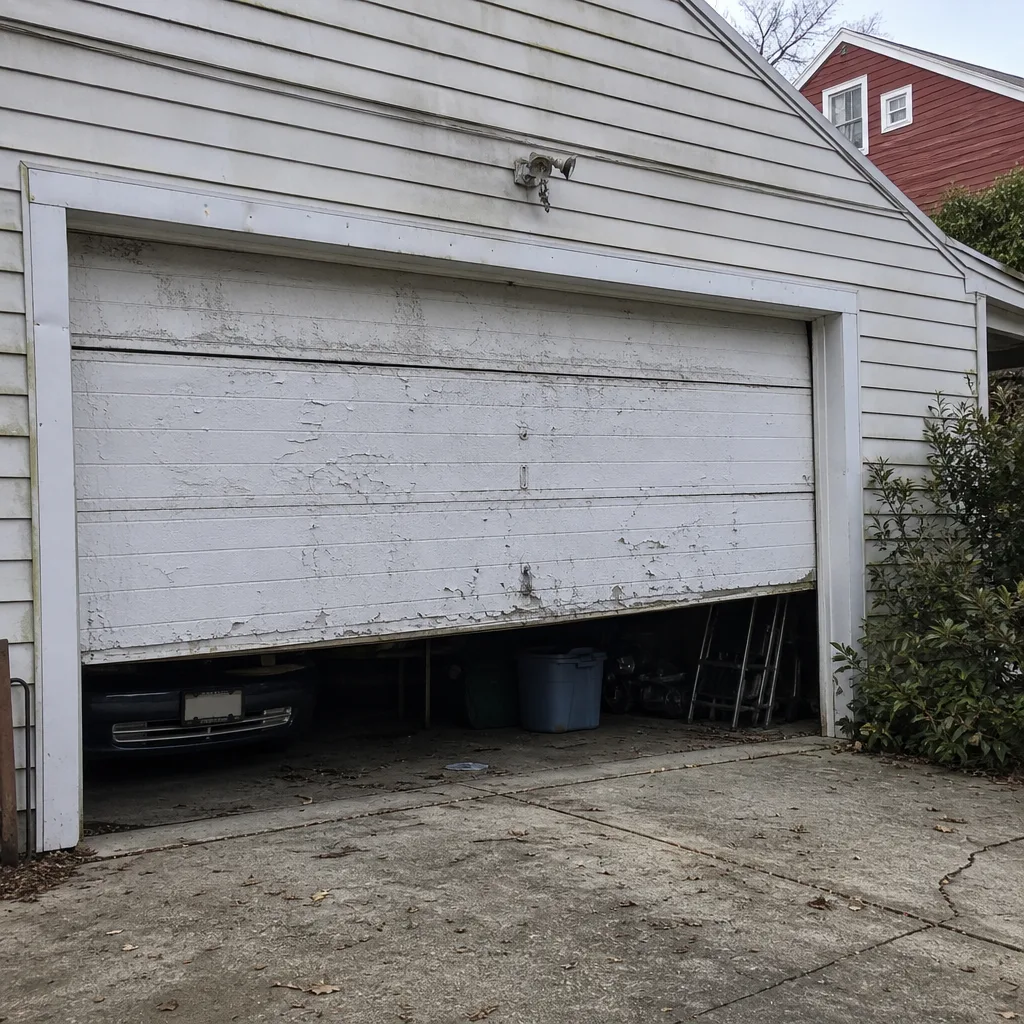 Before
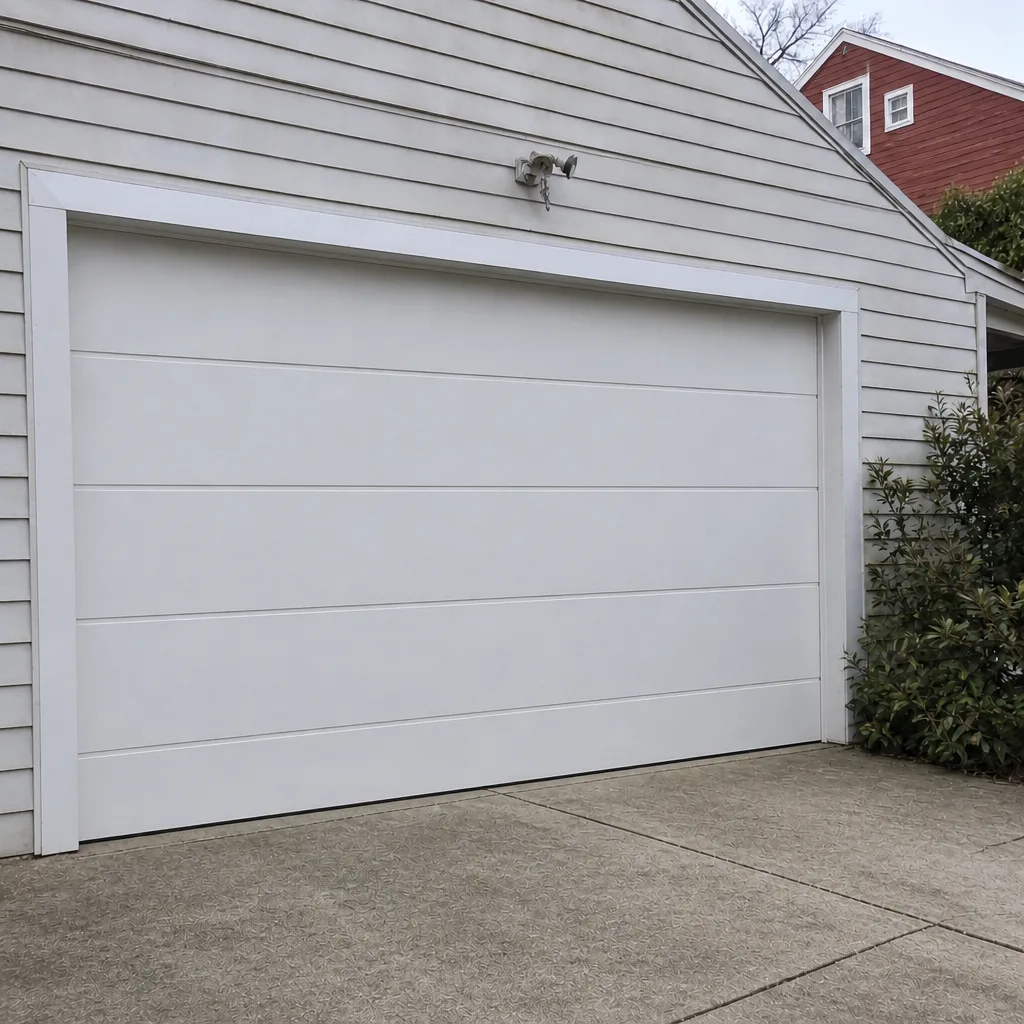 After
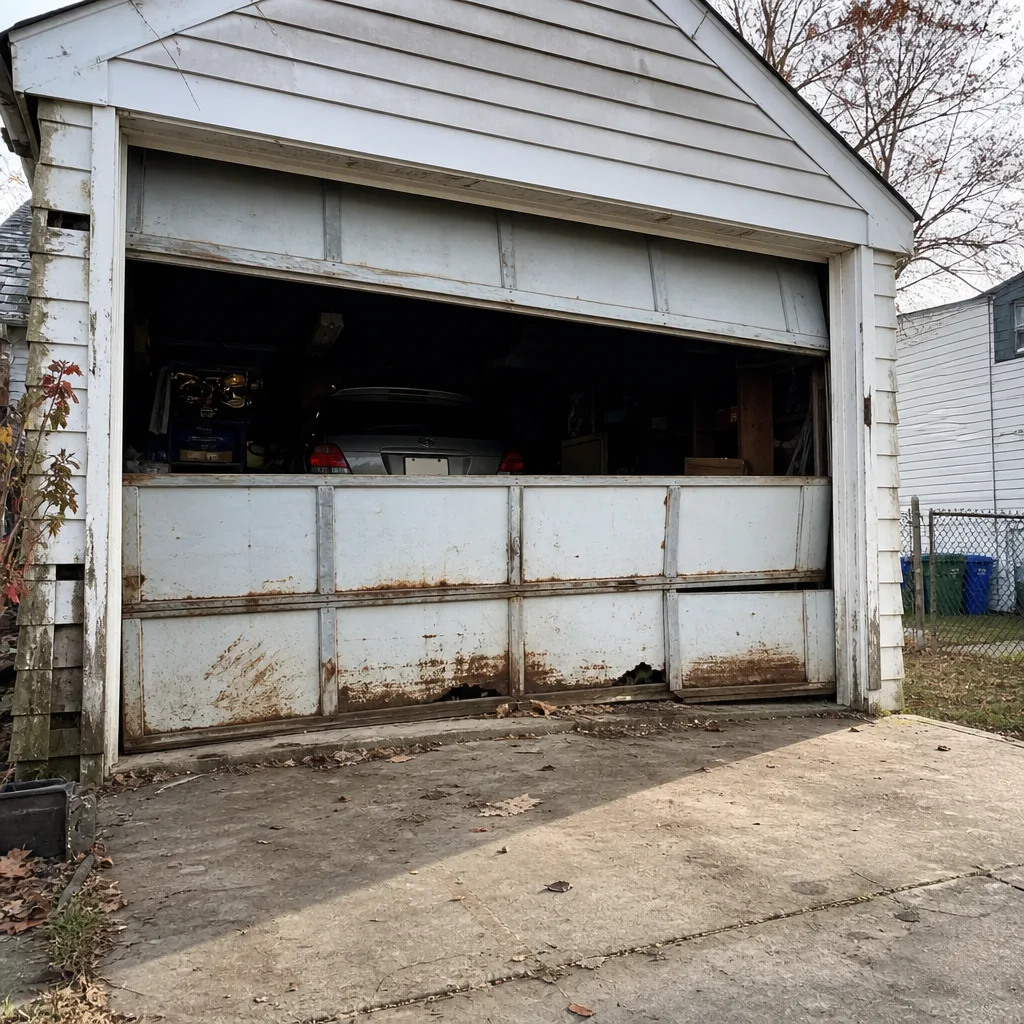 Before
 After
 Before
 After
When to Call a Professional
Some failures are homeowner maintenance, and some are safety-critical. Anything involving springs, cables, drums, or bottom brackets is the second category. If you fail the balance test, find a cable off its drum, spot a worn drum groove, see a sag in an extension spring, or the door reverses unevenly, don’t wait – call a technician. The same goes for a door that comes off the track entirely, a bent track section, or an opener that runs but doesn’t move the door.
New Haven Garage Door Repair Co rebuilds and replaces springs, cables, and drums as a core service – not as a referral to another shop. We work on your brand, from LiftMaster and Chamberlain openers to Clopay, Amarr, and Wayne Dalton doors. New Haven Garage Door Repair Co offers free estimates in New Haven – call (866) 476-7578. Our technicians have up to 9 years of experience, and the price is quoted and agreed before any work starts.
Frequently Asked Questions
Test the auto-reverse function once a month, every month. It takes under two minutes with a roll of paper towels, and it’s the single most important safety test a homeowner can run. If the door fails, call a technician before it runs again – a failed auto-reverse can trap a person or pet under a closing door.
Yes, from the ground, with the door fully closed and the opener powered off. Look at the drums at each end of the torsion shaft for worn grooves, chipped flanges, or a cable that’s sitting unevenly. Do not touch the drums, cables, or bottom brackets. If anything looks off, call us at (866) 476-7578 – estimates are free.
Torsion springs need lubricant along the full coil and oil at the shaft bearings. Extension springs need the pulleys lubricated and a light coat on the coils themselves, plus inspection of the safety cables running through the spring. Both systems need hinge and roller-stem lubrication with a white lithium grease, and neither needs grease in the track.
Yes, in practice it can. Manufacturers like Clopay, Amarr, Wayne Dalton, and Craftsman can point to skipped lubrication, unauthorized spring adjustments, or modified tracks as reasons for a warranty denial. Keeping a simple maintenance record and leaving spring and cable work to a technician is the best protection.
Mild sluggishness in cold weather is normal: grease thickens and seals stiffen. If the door runs after a few cycles, it’s seasonal. If it grinds, stalls, or reverses unexpectedly, that’s not cold weather – that’s a mechanical fault, and it’s worth a call.
We service the major brands, including LiftMaster, Chamberlain, Genie, Clopay, Amarr, Wayne Dalton, Craftsman, and Raynor. We work on your brand and know the failure patterns specific to each system. Call (866) 476-7578 to book a free estimate.
The Bottom Line
A garage door maintenance checklist for New Haven is really a checklist for the specific failures that show up in this climate: freeze-thaw loosening, autumn leaf debris in sensors and tracks, and drum wear on heavily cycled openers. Run the monthly 10-minute safety pass (auto-reverse, photo-eye, balance), do a seasonal lubrication and track cleanup, and schedule the annual ground-level inspection. Leave the springs, cables, drums, and bottom brackets to a trained technician – they’re under tension, they’re the most common cause of sudden drops, and they’re what most checklists skip. New Haven Garage Door Repair Co offers free estimates and upfront pricing – call (866) 476-7578.
Written by the team at New Haven Garage Door Repair Co.